Monetize Your Blog with These 6 Steps: Connecting Your Google AdSense Account to Your Squarespace Website
So, you’re ready to see the money flood into your bank account from your must-read blog? Well, you’ve certainly come to the right place that is going to give it to you real – no chaser. Monetizing your Squarespace website through Google AdSense can be a lucrative venture. Google AdSense allows you to earn money by displaying targeted ads on your site, this married with good SEO keywords and actually enjoyable content, can take your blog far. In this step-by-step guide, we'll walk you through the process of connecting your Google AdSense account to your Squarespace website in just 6 simple steps!

Step 1: Make Sure You’re Upgraded to a Squarespace Premium Account
It’s important to note that you cannot monetize any Squarespace website on the Personal Plan. You have to have the Code Injection feature activated in order to insert the Google Adsense ads.txt file code. If not, you will receive an 'not found' error within your Google Adsense account to update it.

Step 2: Create a Google AdSense Account
If you don't already have a Google AdSense account, the first step is to create one. Visit the Google AdSense website (https://www.google.com/adsense/start/) and follow the sign-up process. Ensure that you provide accurate and up-to-date information during the registration.

Step 3: Set Up Ad Units
Once your Google AdSense account is created, log in, and navigate to the "My Ads" section. Here, you can create ad units that match the layout and design of your Squarespace website. Customize the ad units to ensure they seamlessly integrate with your site's aesthetic. To make it even easier, set your ads to Auto Ads. This will allow Google to automatically show ads across your entire site in all the best places.

Step 4: Get Your AdSense Publisher ID Activation Code
After setting up your ad units, you'll receive a unique AdSense Publisher ID or Activation Code. Copy this ID as you'll need it to connect your Squarespace website with your AdSense account.
Step 5: Insert Activation Code Into Your Squarespace
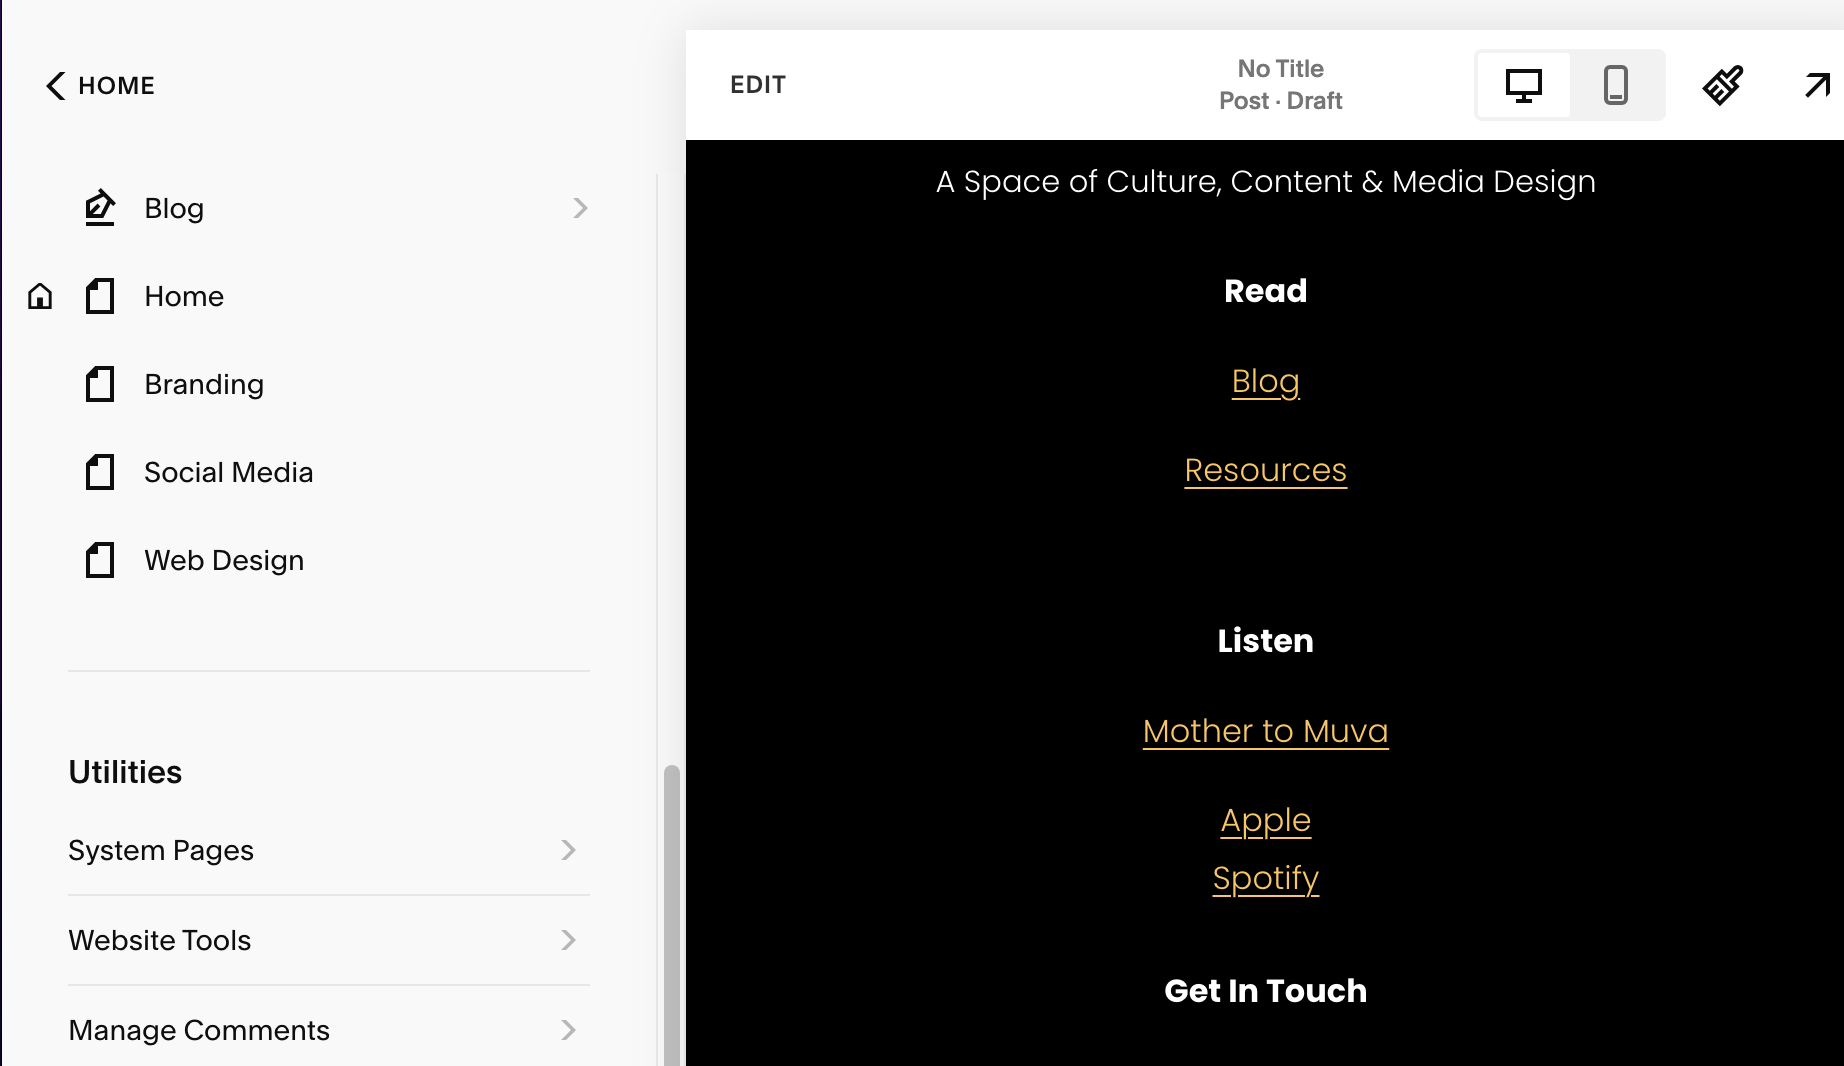
From your Squarespace homepage, go to Website >> scroll to the bottom of the menu, under Utilities click on Website Tools >> Code Injection then insert your code on a new line under the Header option.


Other Options:
For greater customization, you have the option to precisely control the placement of ads using code blocks:
1. Remove the activation code from the site-wide code injection if you had previously added it.
2. Disable auto-ads in your Google AdSense account.
3. Generate an ad unit and copy its corresponding code.
4. Embed the ad on your site by pasting the copied code into a code block.
It's worth noting that Google may recommend uploading an ads.txt file to your root level domain or directory. Unfortunately, Squarespace doesn't currently support this feature. For more details and potential alternatives, please reach out to Google AdSense support.
Step 6: Monitor Performance
With the integration complete, regularly monitor the performance of your Google AdSense ads through both the AdSense dashboard and Squarespace analytics. This will help you optimize ad placements and maximize revenue.

If you already have an up-and-running blog or website, connecting your Google AdSense account to your Squarespace website is a straightforward process that opens up opportunities for monetization. By following these steps, you can seamlessly integrate targeted ads into your site and start earning revenue. Keep an eye on performance metrics and experiment with placements to find the optimal balance between user experience and ad revenue. Happy monetizing!